
こんにちは!
hamamaです。
訪問ありがとうございます。
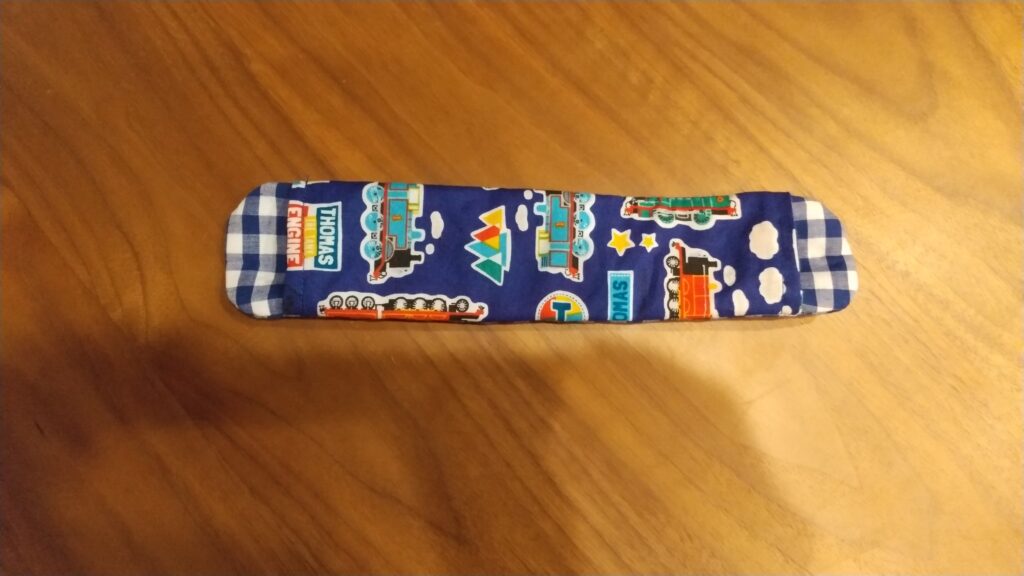
もうすぐ幼稚園の息子の、入園の準備に水筒の紐カバーを作りました。
次回、作る時用の記録にもしようと思い、ブログに書きました。
目次
子供の水筒カバーの作り方
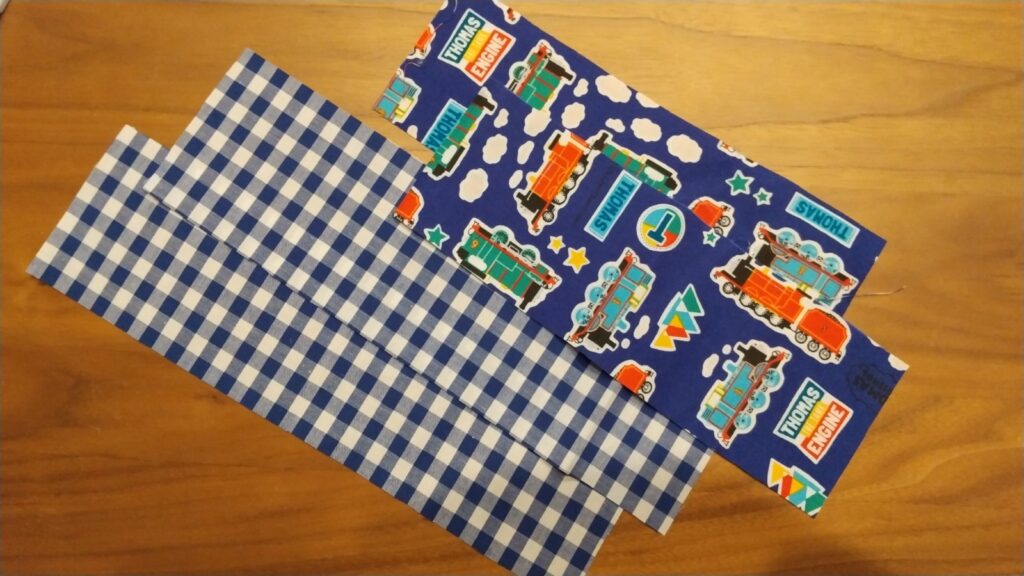
材料
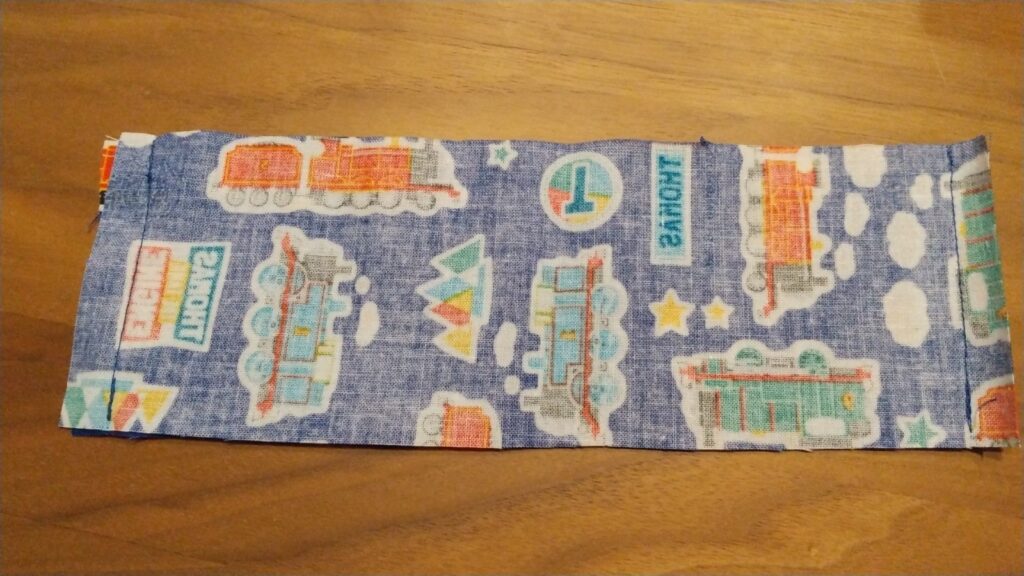
- 短い分(トーマス柄)・・・横7㎝X縦21㎝・・・2枚
- 長い分(チェック柄)・・・横7㎝X縦26㎝・・・2枚
- 接着芯(長い分)・・・横7㎝X縦26㎝・・・2枚
(接着芯は今回は生地が薄いので使いました。キルト生地の場合はいらないです。)
作り方
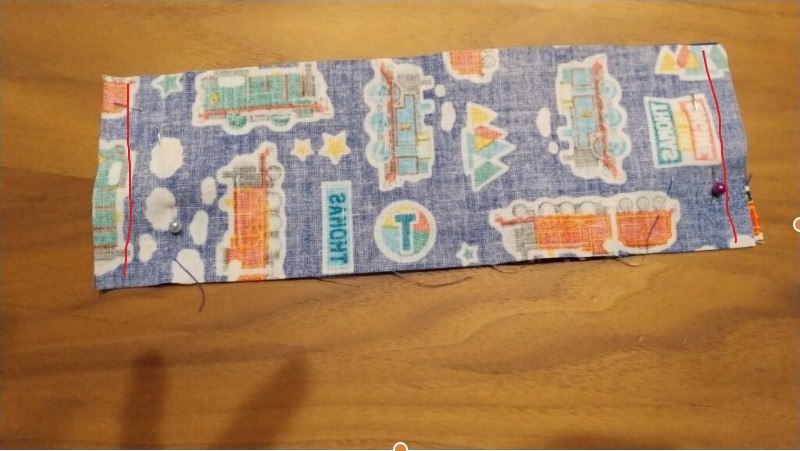
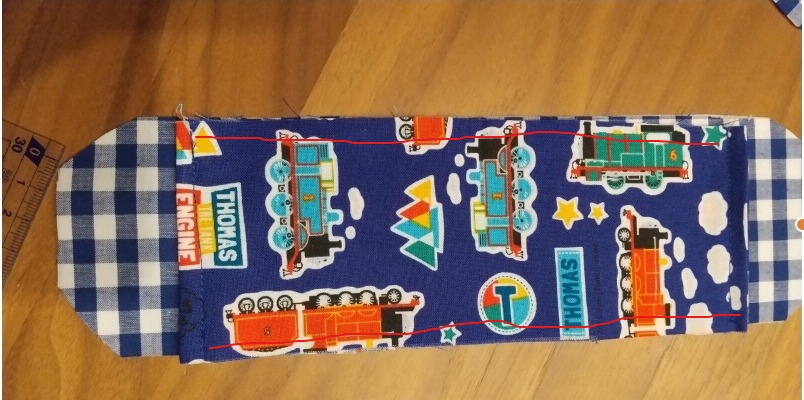
1、短い布を中表に合わせ赤い線のところを幅5㎜縫います。
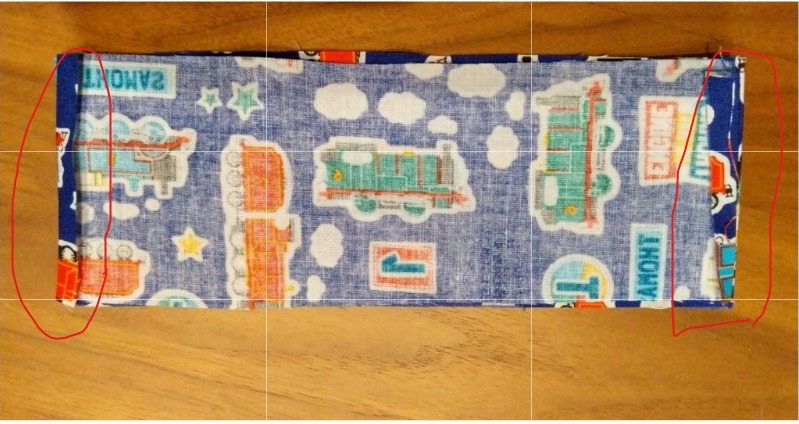
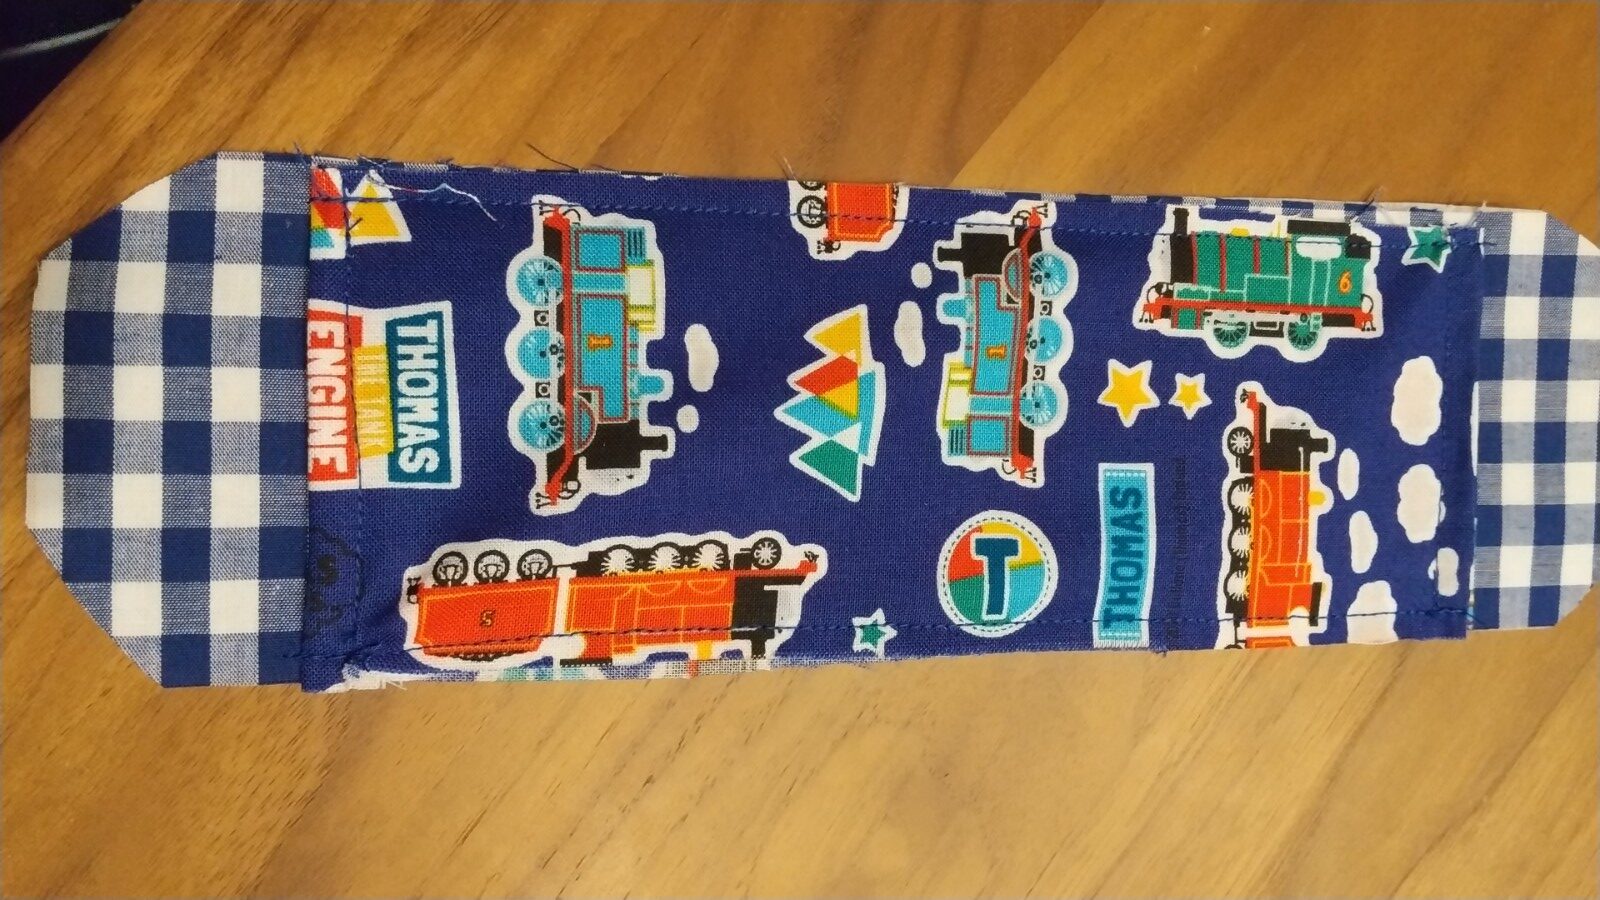
2、丸の部分をアイロンで割り表生地にしアイロンを掛けます。
3、両端にミシンを掛けます。
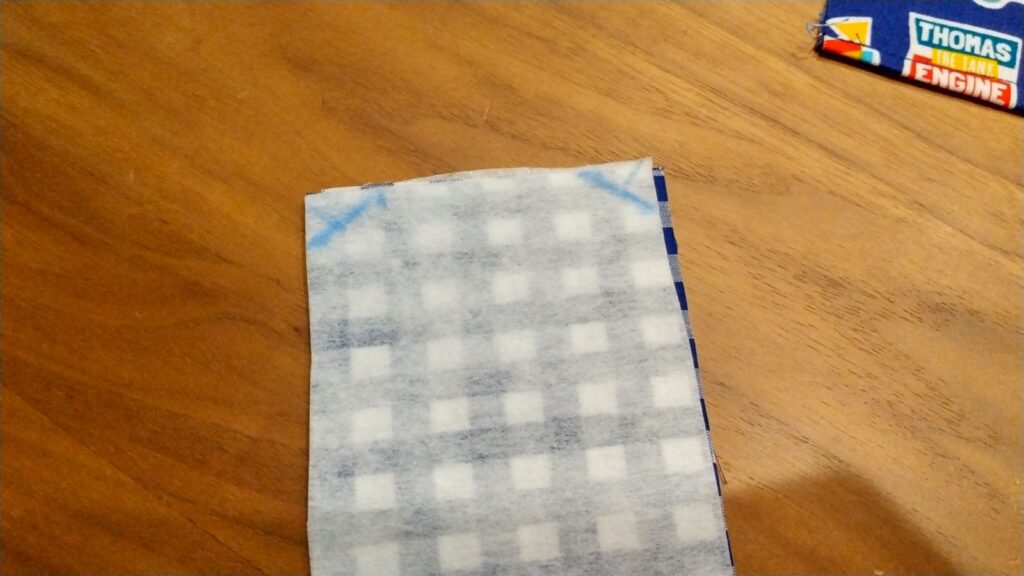
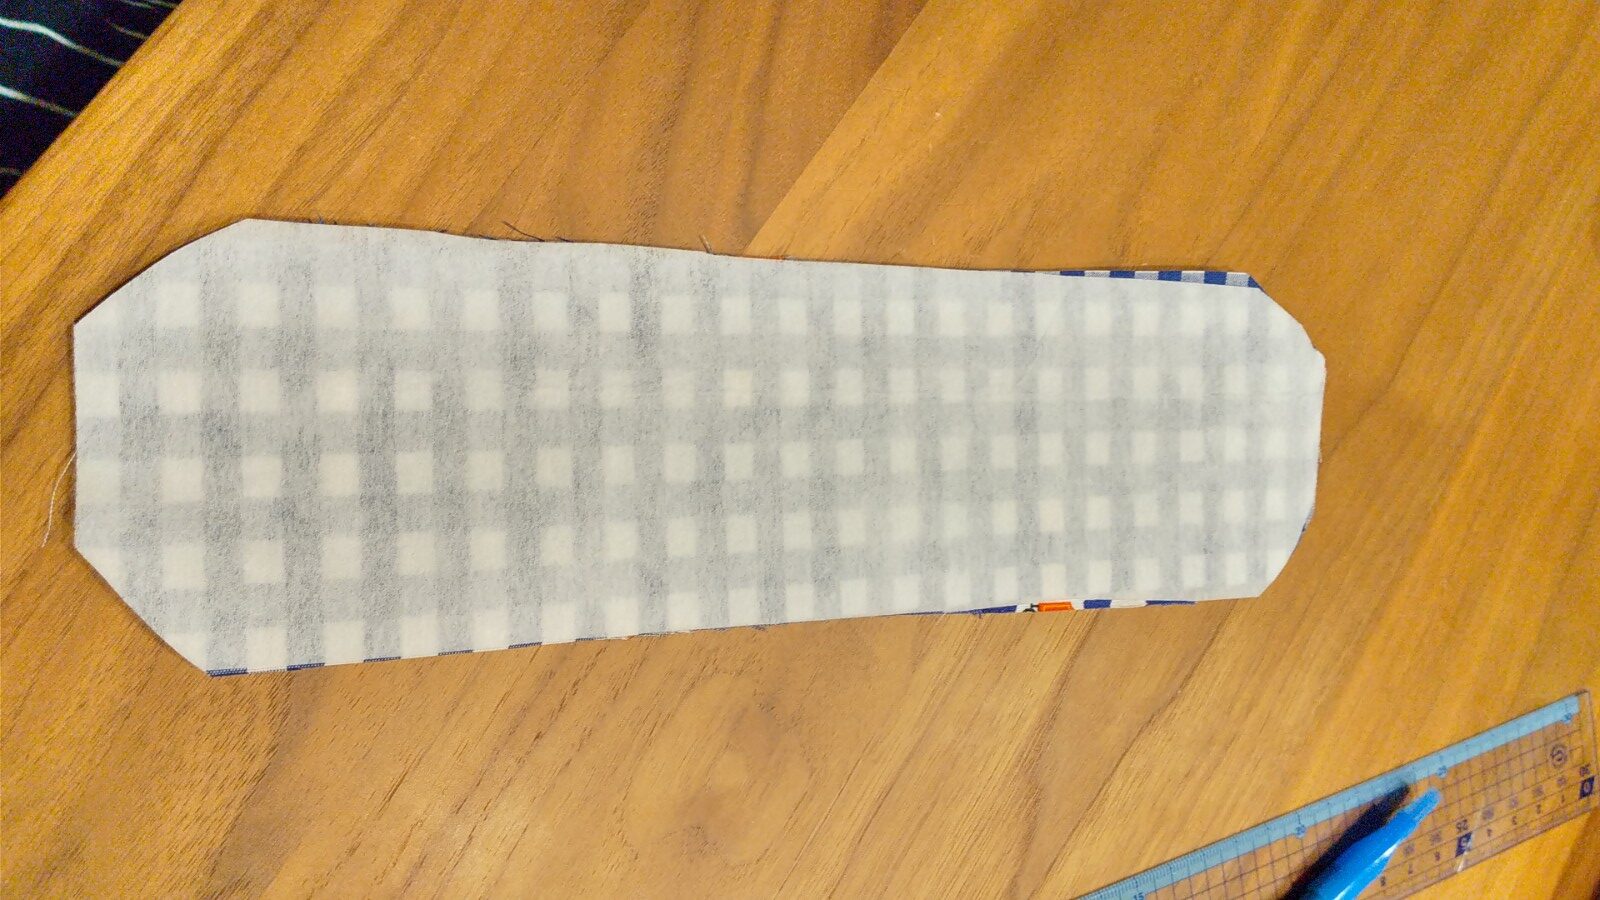
長い布に接着芯をアイロンで着け、長い布も中表に合わせ角をカットします。
横1㎝・縦1㎝・斜め1㎝に寸法を測りカットします。
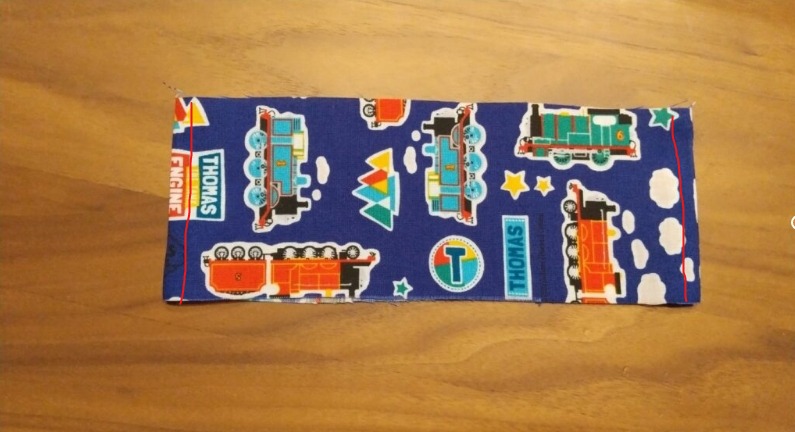
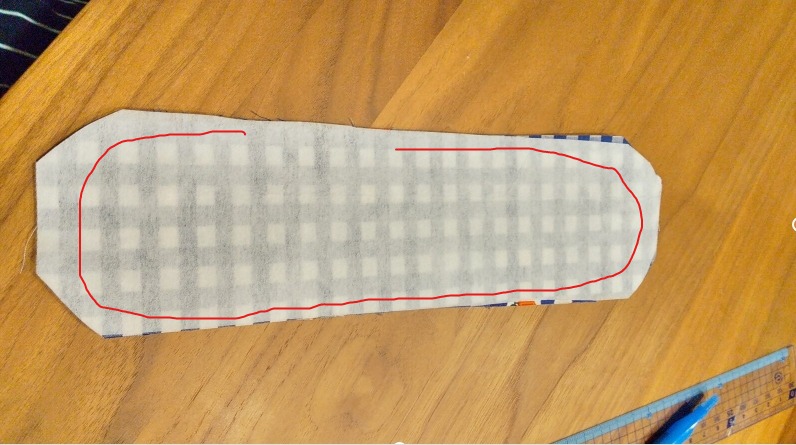
4、短い分と長い分を折り曲げ真ん中に印を付け短い分と長い分を合わせて両サイドを5㎜で縫います。
5、縫えたらもう1枚をかぶせ、中表で幅1㎝で縫います。その時に真ん中に5㎝ぐらいの返し口を開けておいて下さい。
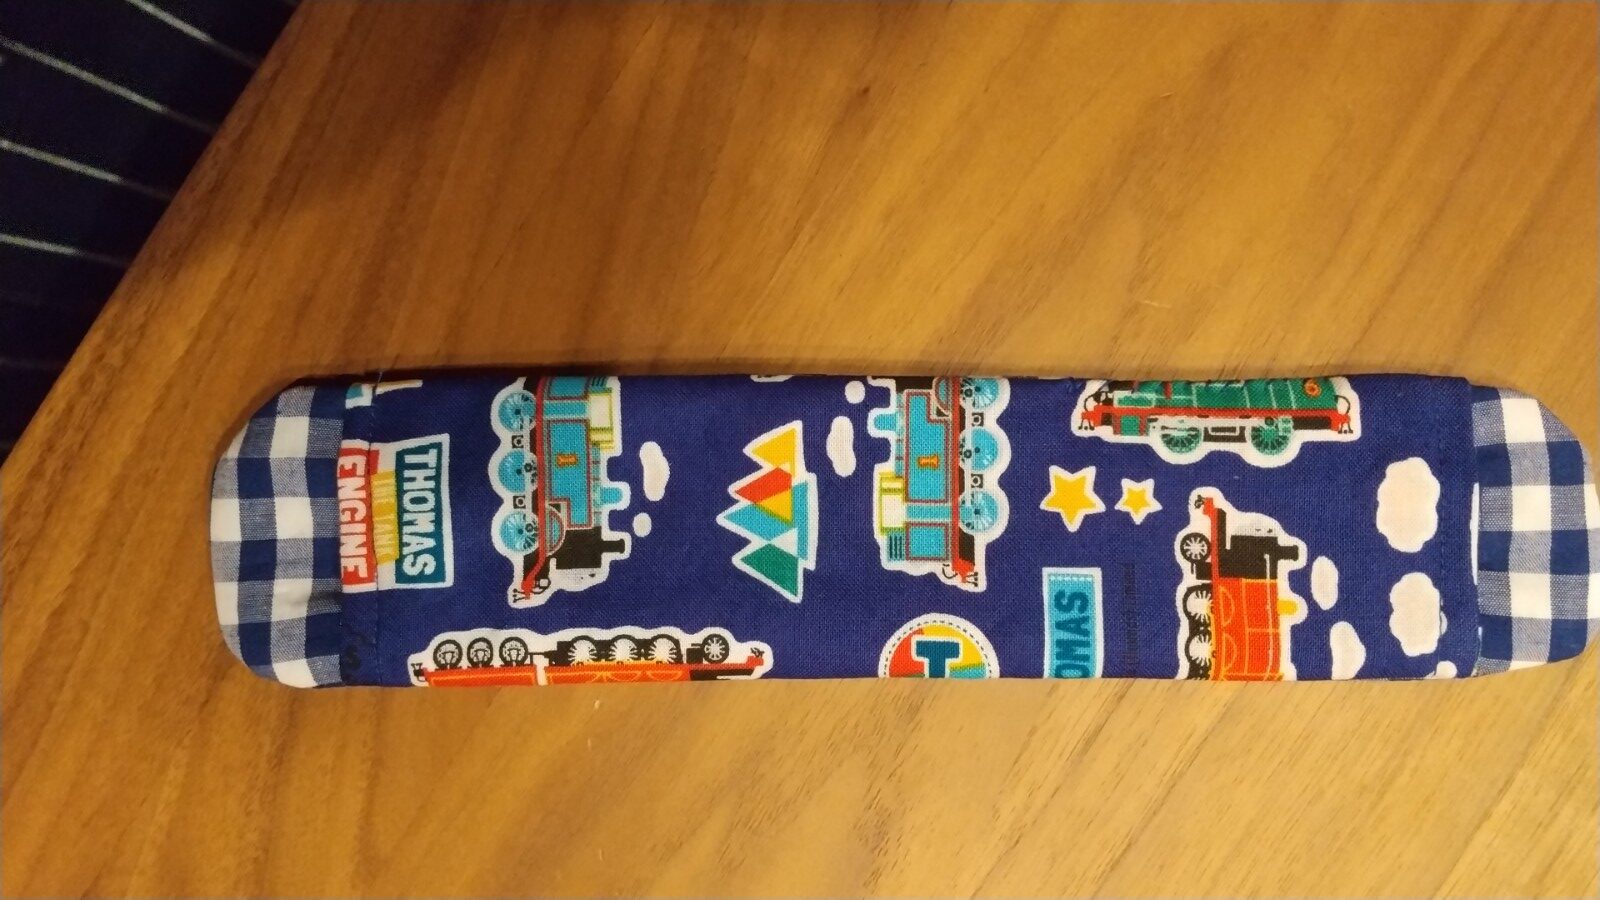
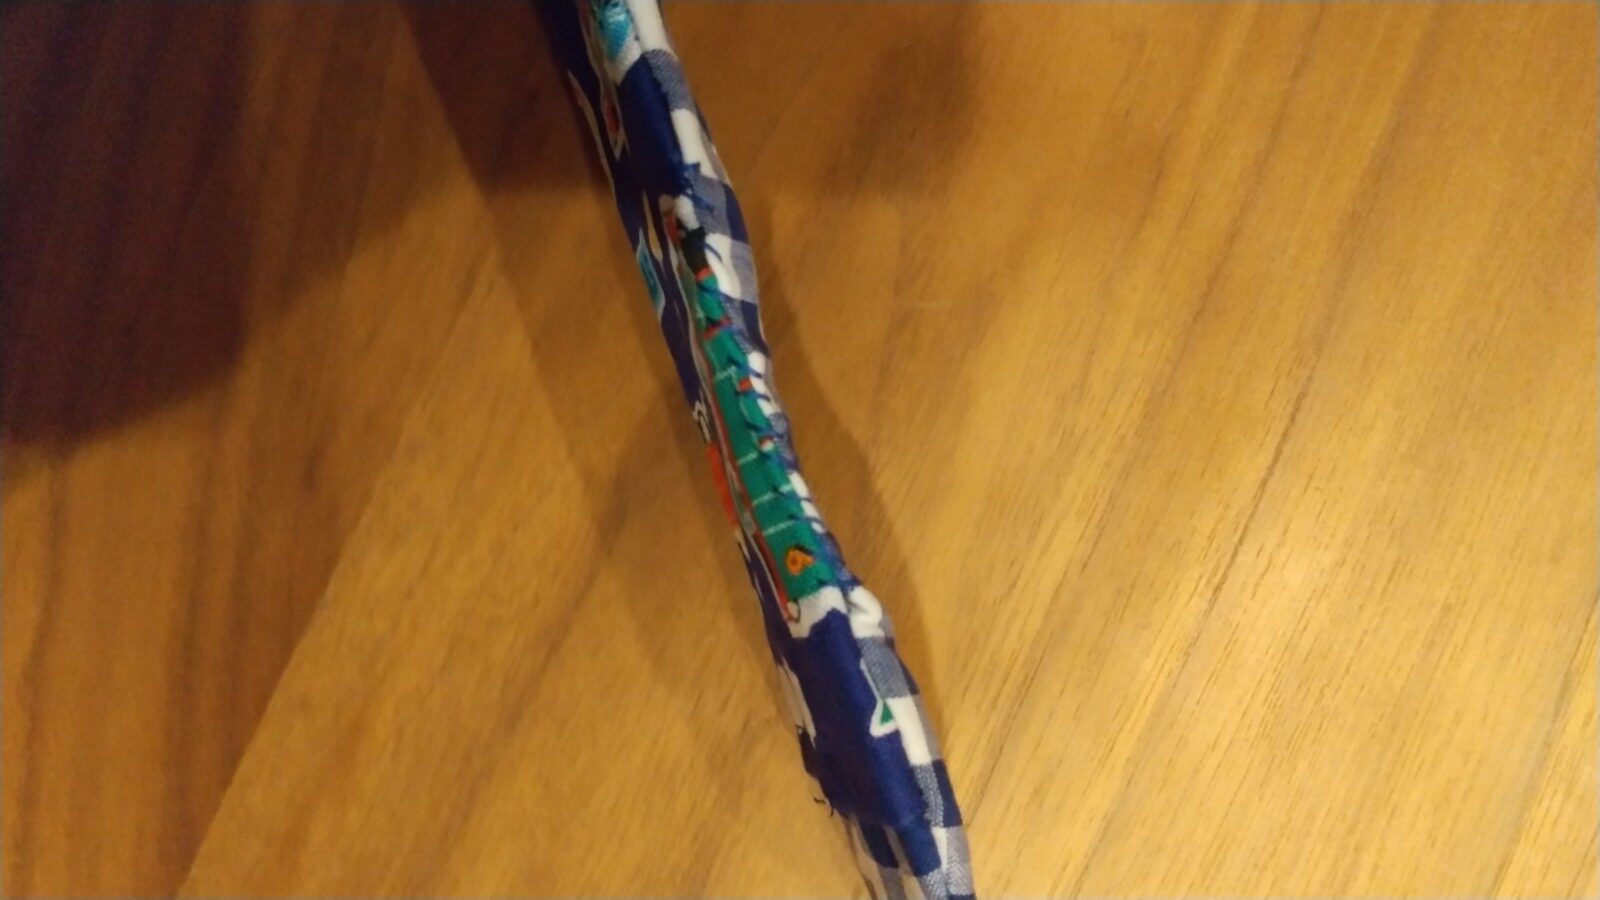
6、縫い終わったらひっくり返して、アイロンで形を整えて下さい。
その時返し口を内側に入れておいてください。
返し口はミシンで縫いたかったのですが、厚みがあったので手縫いしました。
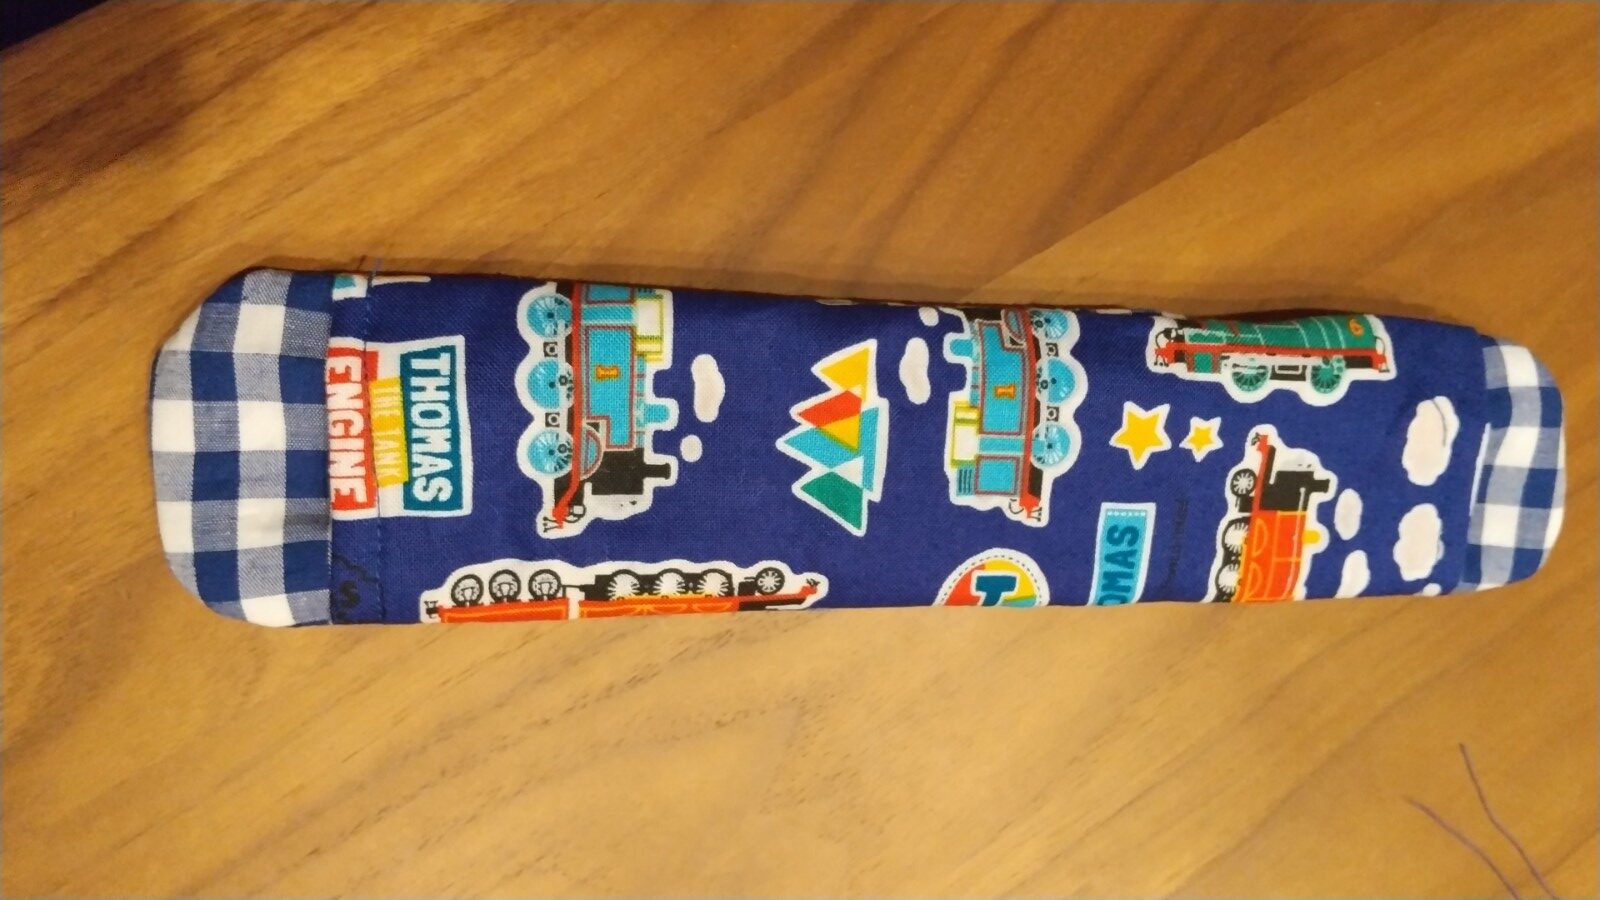
お好きな柄を使って作ってみてください。