
こんにちは!
hamamaです。
訪問ありがとうございます。
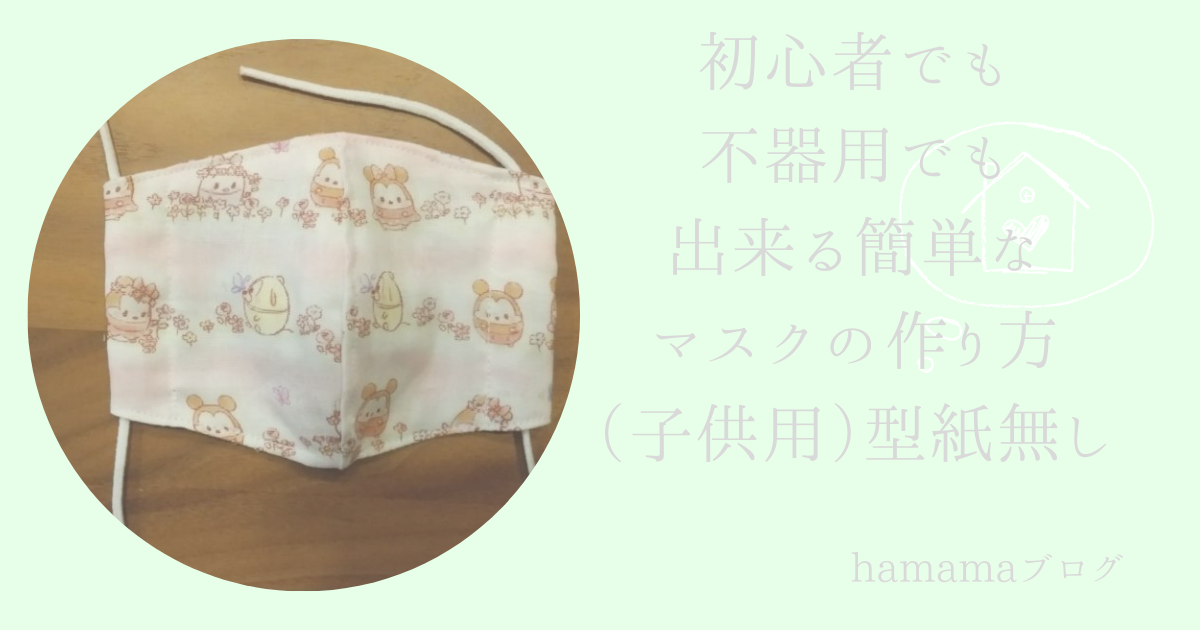
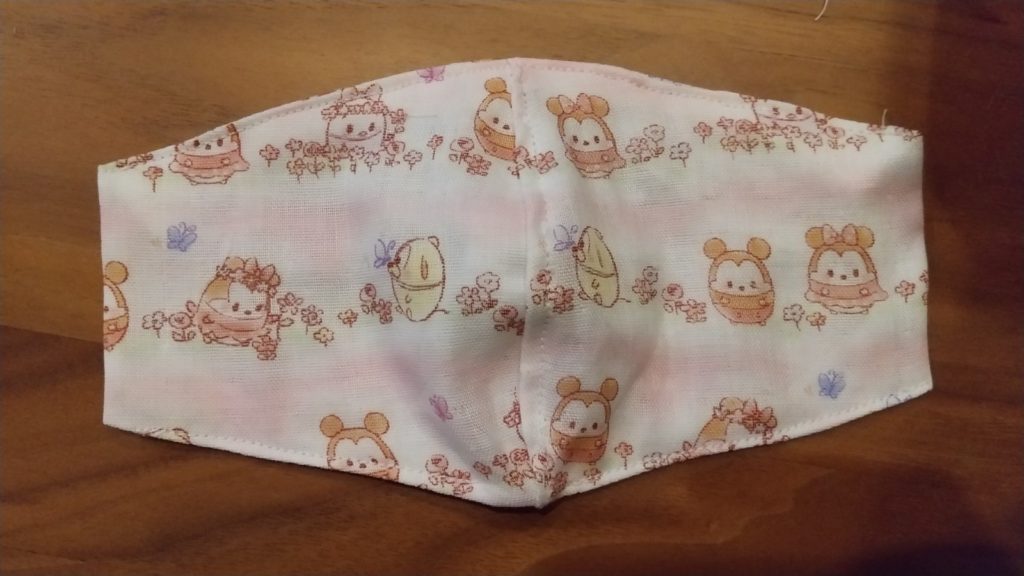
姪っ子に頼まれて、マスクを作りました。
3歳~小学校低学年ぐらいの子が使えると思います。
完成寸法約横13㎝縦9㎝(一番長いところ)です。
不器用な私でも、簡単に作れた方法です。
ぜひ、試してみて下さい。

目次
マスクの作り方
材料
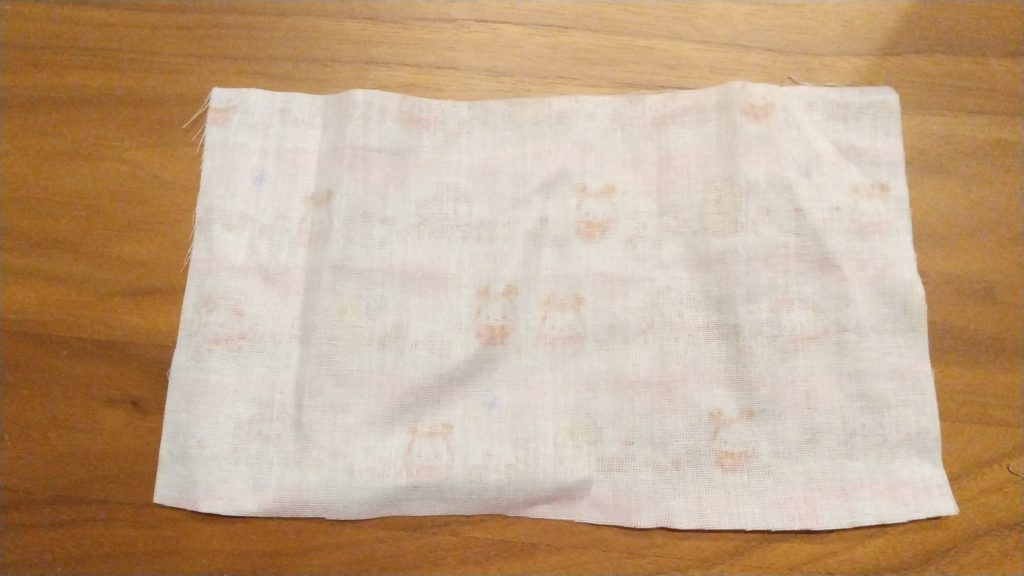
- 布・・・横20㎝ X 縦 12㎝ ・・・2枚
- マスク紐・・・20㎝・・・2本
縦12㎝・横20㎝
布を横におりさらに縦におります。

左に輪っか、下に2個の輪っかにして縦に2㎝、右端から横に2、5㎝で印を付けて下さい。
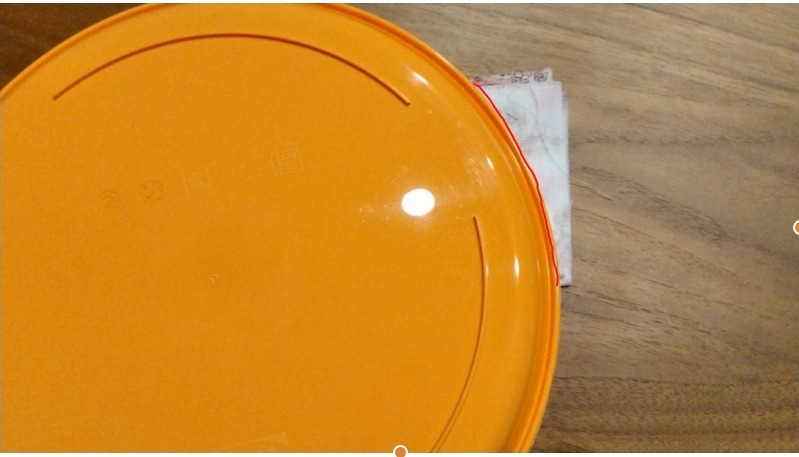
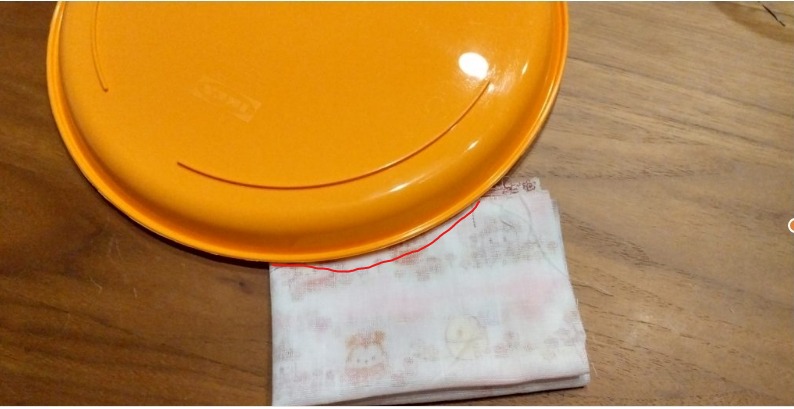
お皿を使ってこのように、線を引きもう一枚の布も同じ折り方をし二枚合わせて切ります。
切るとこのような形が2つ出来るので、待ち針でずれないように合わせて下さい。
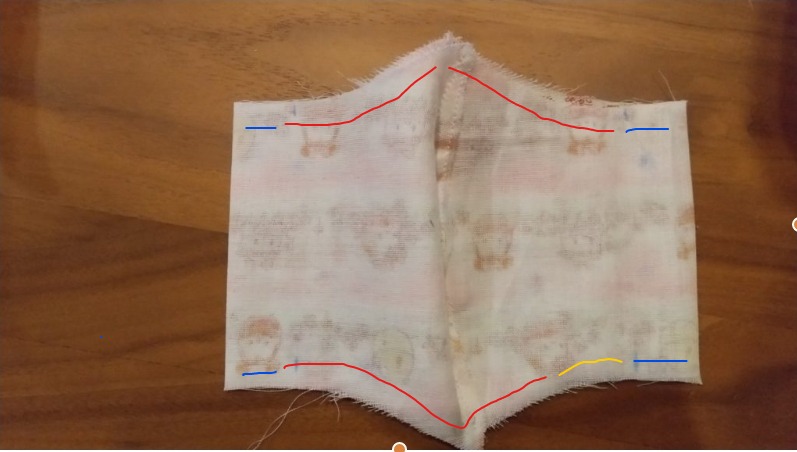
赤線のところ(両端)を幅5㎜ぐらいでぬって下さい。
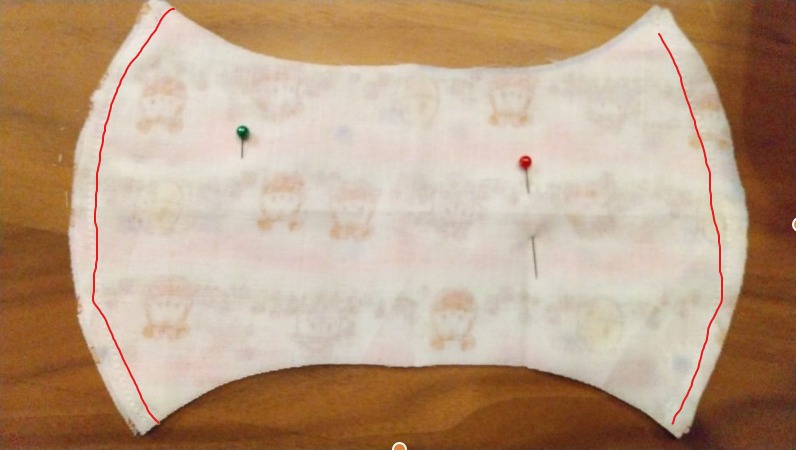
縫えたら筒状になると思うのでこのように合わせます。
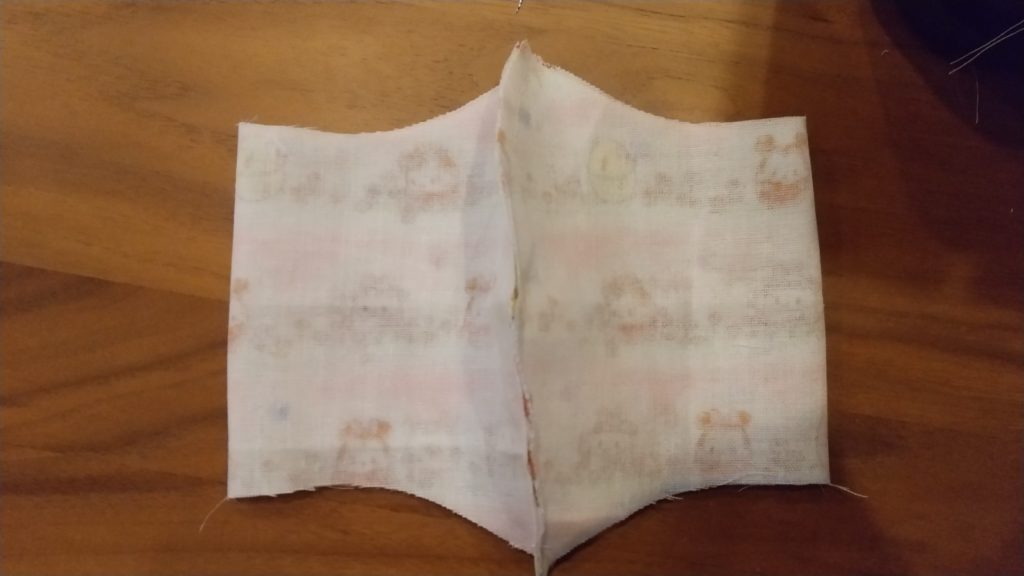
次は先端を縫います。
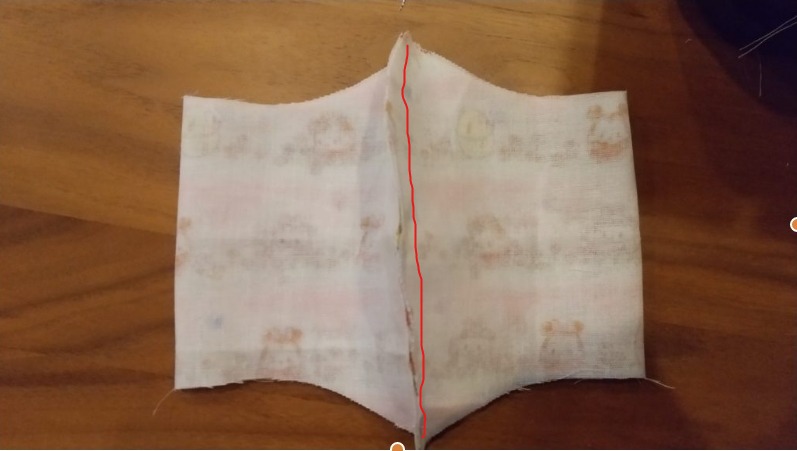
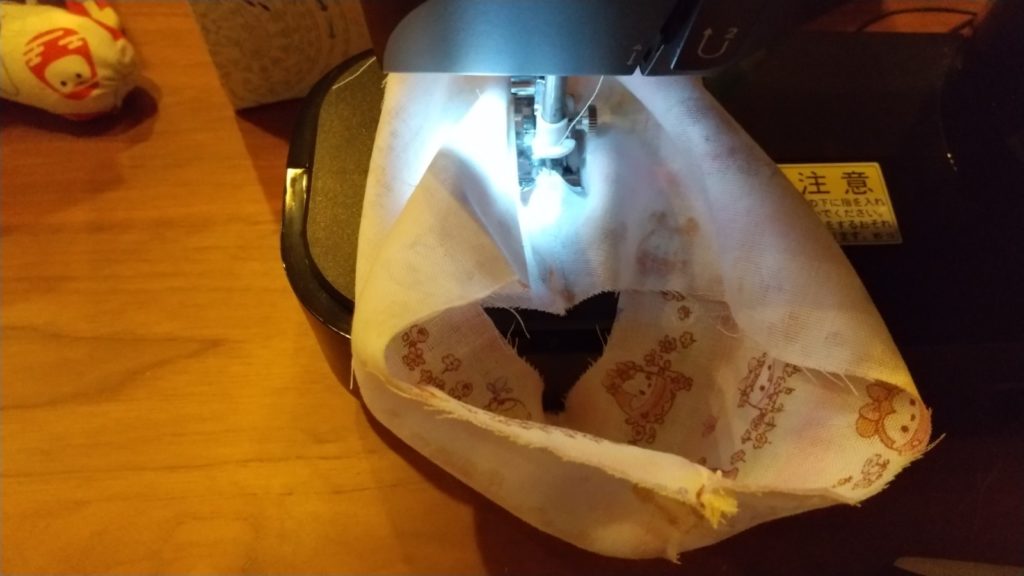
ひらひらの部分を縫って下さい。ひらひらの部分は右と左、逆に縫って重ねた時に重ならないように縫って下さい。
先端は少し縫いにくいです。
縫い終わったらこのように広げあかの部分を幅5㎜ぐらいで縫って下さい。
青の部分は2㎝で縫わないで下さい。
黄色の部分は返し口になります。3~5㎝縫わないで下さい。
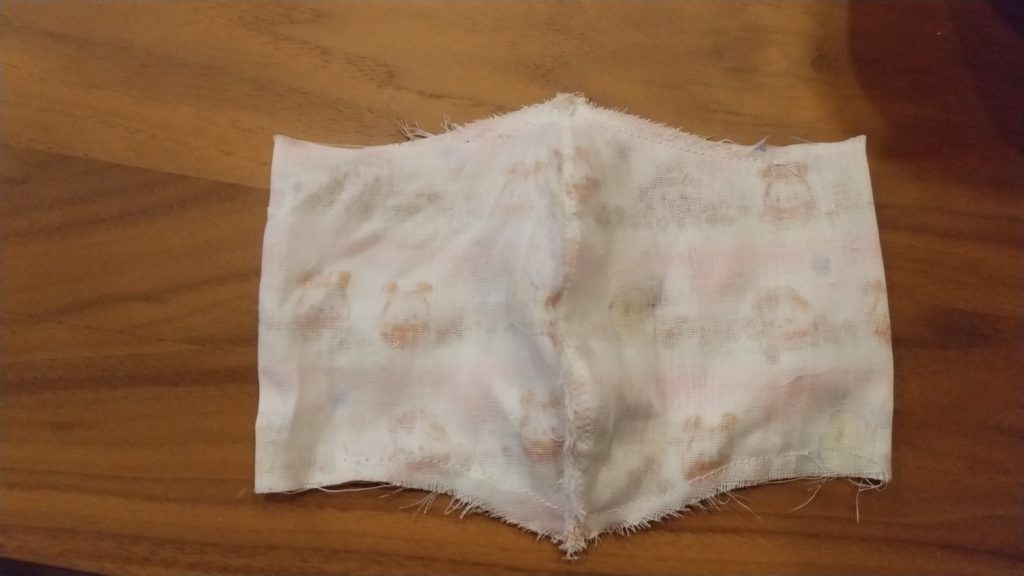
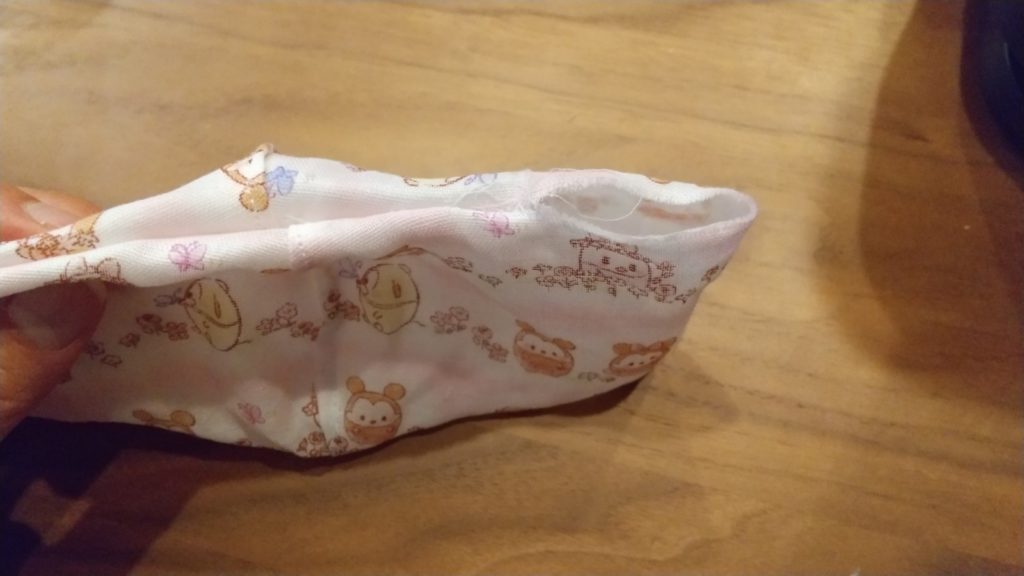
縫い終わったら、表に返して周りを縫います。返し口のところは、布を折り返して中に入れてください。
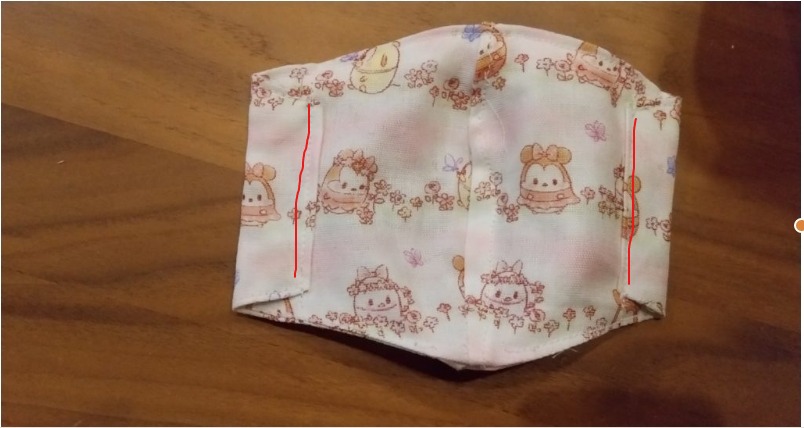
赤い部分を幅2㎜でぬって下さい。
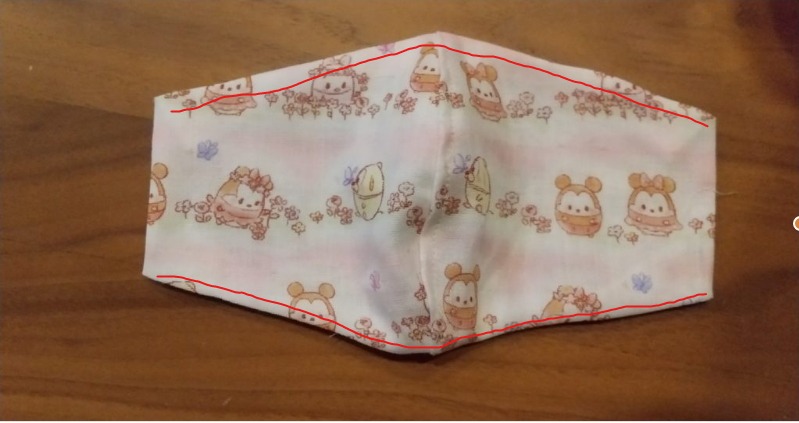
端から赤い線のところまで2㎝の印をつけて赤い線のところを折り曲げます。

赤い線の部分を縫って紐を通したら完成です。
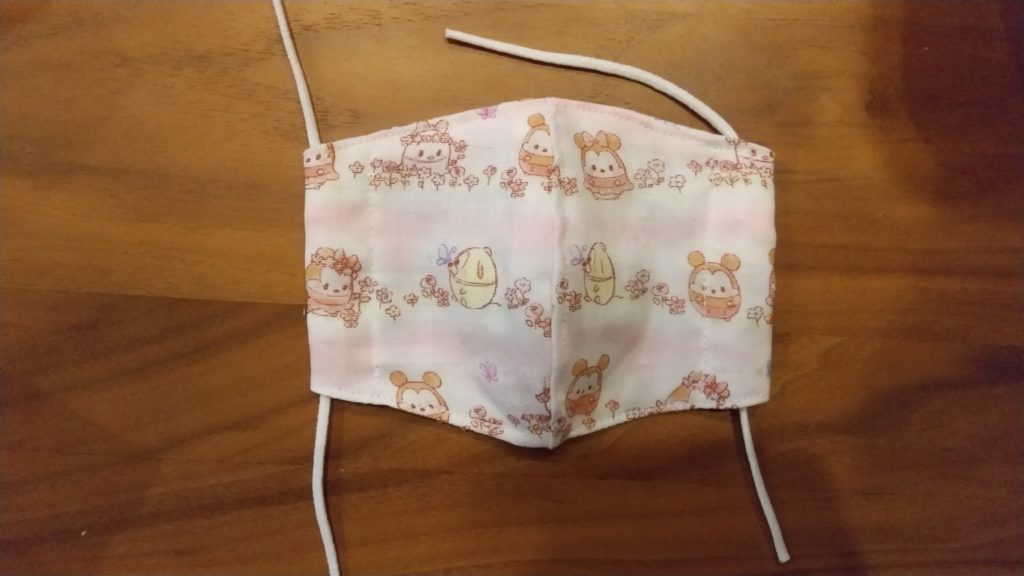
型紙もいらないので、縫いやすいです。
ところどころ形を整えたいときは、アイロンでおさえてください。
私も、ミシンはあまり得意ではないですが、簡単に作ることが出来ました。
よかったら参考にして下さい。